Eventually, if you make jewelry long enough, you will find that you make some of the same things over and over, either multiple parts on the same design or the design multiple times. You say to yourself….”Self, it would be so nice if I could make it once and have a way to reproduce it”. Whether you do your own casting or have someone do your casting for you, it is beneficial to have a mold made so all you have to do is inject the wax and cast the piece, sometimes multiple times.
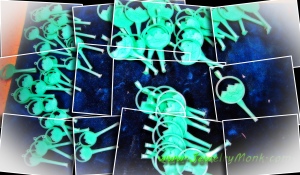
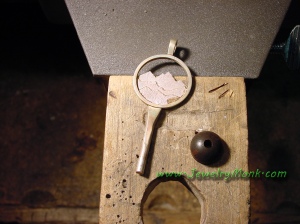
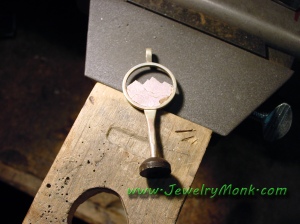
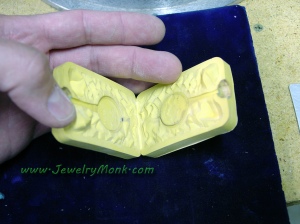
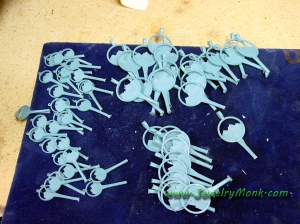
I will cover making a mold at a later date, but today let’s look at the wax injection process. Here is a piece I needed multiples of, so I made a model, added a sprue and a sprue button, and made a mold.
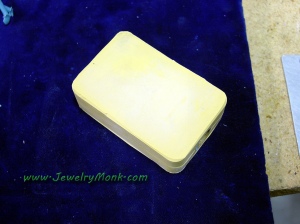
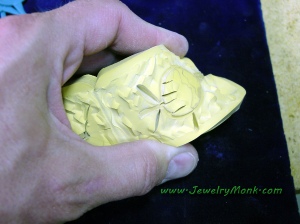
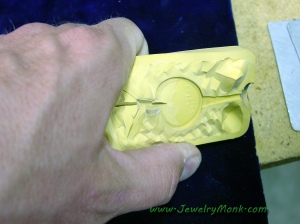
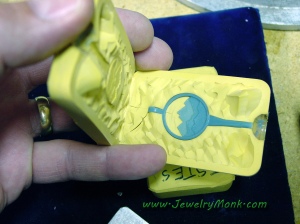
Here is the mold I will be using, notice when I cut the mold, I cut it with “locks” in it so the 2 halves won’t shift and the mold line will be less visible and less cleanup in the wax. I cut the mold with a #12 Surgical Blade in a Scalpel Handle
. I used Castaldo Gold Ready Cut Rubber
in this instance.
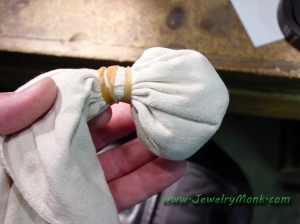
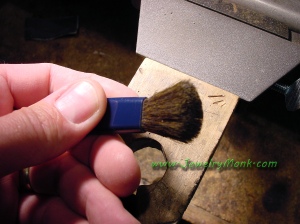
I also cut airlines in the mold so the air can evacuate and helps the waxes fill more easily. I lightly coat the airlines with talc (Baby Powder) to help in this process. I fill a towel with baby powder and tap the inside of the mold while spreading the mold open. I also use a Makeup Brush to brush out any excess powder. An air hose blown into the mold will do the same thing.
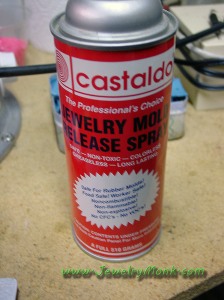
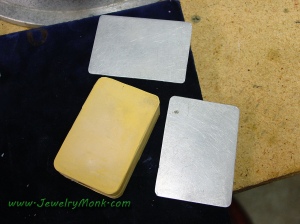
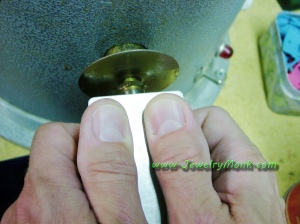
After the airlines are powdered, spray a little Mold Release to the inside of the mold to help the wax come out of the mold easier. To inject the wax, I have made 2 Aluminum Plates that I use to hold the mold at a constant pressure so the mold doesn’t bulge or have inconsistent thicknesses. The aluminum plates are about 1.5mm thick.
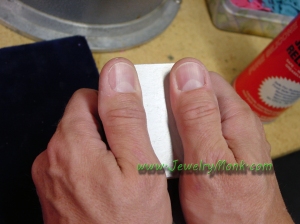
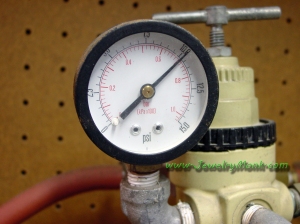
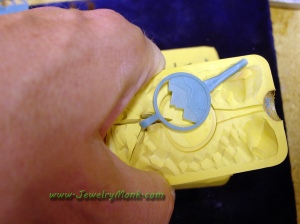
Now set the air pressure on your Wax Injection Machine, I like to start around 10psi. Hold the mold to the injection nozzle, press in and count to about 10 (one thousand one, one thousand two, etc.) Wait for a couple of minutes for the wax to cool, and open the mold. If the wax doesn’t fill, add more pressure, and if it overfills, (flashing), decrease the air pressure. Remove and repeat. Re-powder the mold about every 20-30 injections and spray the mold release about every 5 or so injections.
I hope you had a great 4th of July!
Now go enjoy your jewelry making.
Doug


Thanks so much for sharing this information. It’s so difficult to find high quality blogs and tutorials that really help. I’ve recently invested in a Dura-Bull wax injector, Duraa-Bull vulcanizer as well as a Senty casting kiln, EZ-Cast vacuum caster & melter
That is awesome, i hesitated to put casting info on the site just because I wasn’t sure how many would be interested. Thanks for the reply.
Doug
I’ve not had the chance to fire up the vulcanizer or injector as of yet. Im only now beginning to see successful casts. The time is not far off however to begin the mold making process. Blogs like yours are made for people like me! Thank you, thank you & thank you!
Thank you. It is replies like yours that show me that what I am doing is the right thing and in the right direction.
It seems as though the Internet contains a smorgasbord of info in most fields-until you begin looking into the Jewelry trades-at which point it becomes a cherished secret. This is why I treasure the work of those who are willing to share with us a taste of their acquired knowledge and skill! I thoroughly enjoy what your doing and look forward to your posts to come. If your interested in seeing a bit of my work in action I have posted a few videos on my You Tube channel https://m.youtube.com/channel/UC083zg6CJwJSPAnsEfInJcg
I’m a self taught beginner and used to make dental prosthetics. I really love this trade but am finding it to be one of the most challenging things I have ever taken on in my life!